Windows Server (2012) IIS – Set Domain Name Manually
Internet Information Server (IIS) is one of the most popular and flexible general-purpose web servers from Microsoft that runs on Windows systems to host and provide Internet-based services to the web applications. It accepts requests from remote client computers and sends the appropriate responses back after processing. The basic functionality allows web servers to share and deliver information across the Internet, an Intranet or an Extranet. Internet Information Server (IIS) administers Web applications, search engines, add support for writing Web-based applications and exhibits several features like:
- Maximize web security by reducing the attack surface area.
- Easy deployment and runs ASP.NET, Classic ASP, and PHP web applications on the same server.
- Configures multiple web servers into a server farm that you can manage.
- Complete application isolation to protect against one website from interfering with other sites on your server.
- Speed up your website through built-in dynamic caching by removing unused server features and enhanced compression.
To work in an easy-to-manage, a modular, secure and extensible platform for reliably hosting websites, services, and applications; you need to add a domain to IIS. So let’s see how to add a domain while moving step by step covering all the details from; establishing a link from Remote Desktop Connection, installing and configuring the IIS, to adding a domain to the Internet Information Server(IIS).
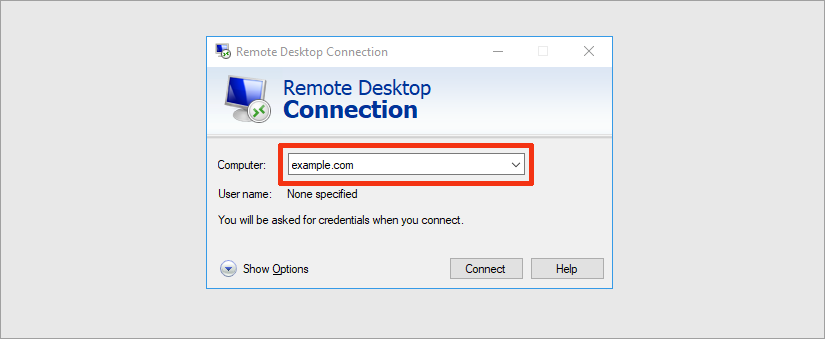
1. How to Connect from Remote Desktop Connection (RDC)?
- Click the Start button. In the search box, type Remote Desktop Connection, and then, select Remote Desktop Connection from the list of results.
- Log into the server by typing the name of the computer or IP address in the “Computer” field.
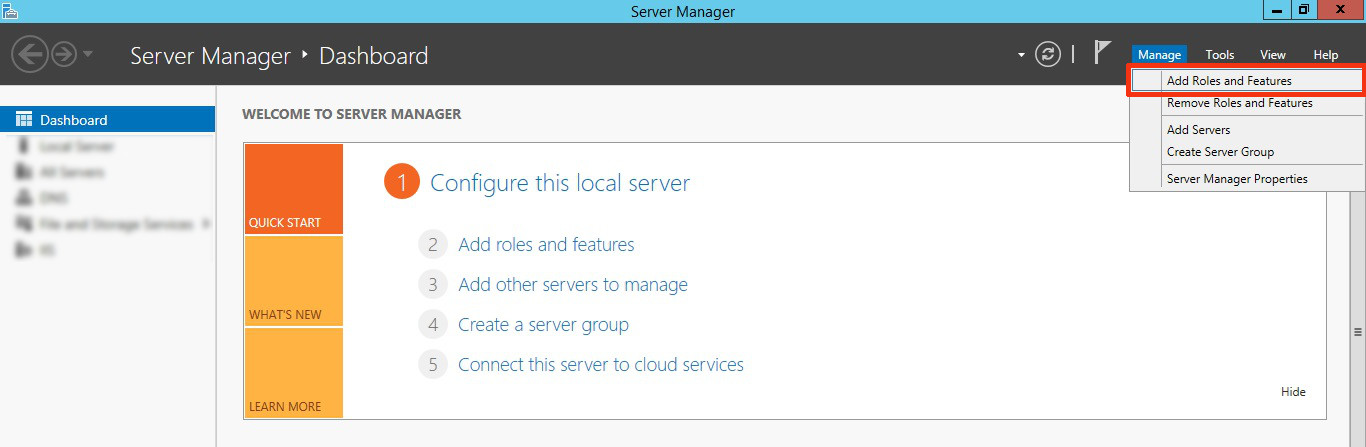
2. Installing and Configuring the IIS on Windows Server
Use the following steps to install and configure the IIS(Internet Information Server) on your Windows Server:
- Open Server Manager panel.
- Navigate to Manage menu and select Add Roles and Features.
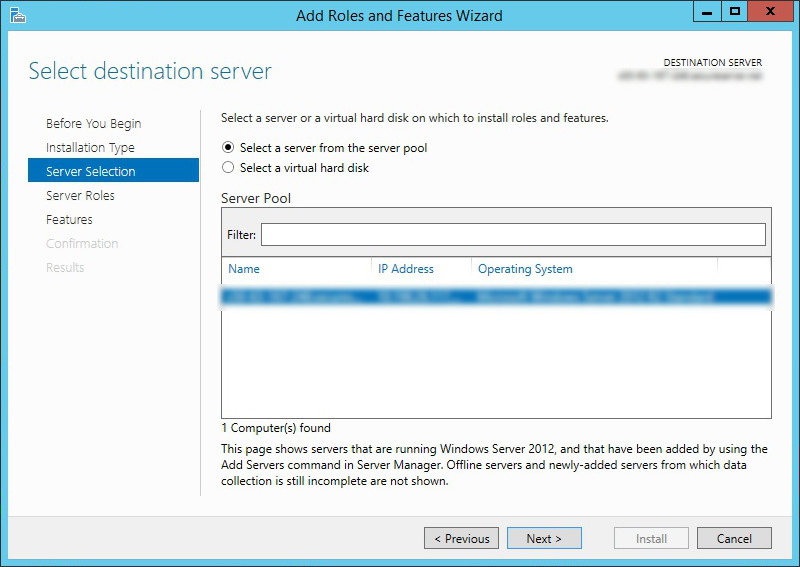
- From Add Roles and Features Wizard under installation type, select Role-based or Feature-based Installation and click Next.

- In Server Selection, select the appropriate server (local is selected by default) and Click Next.
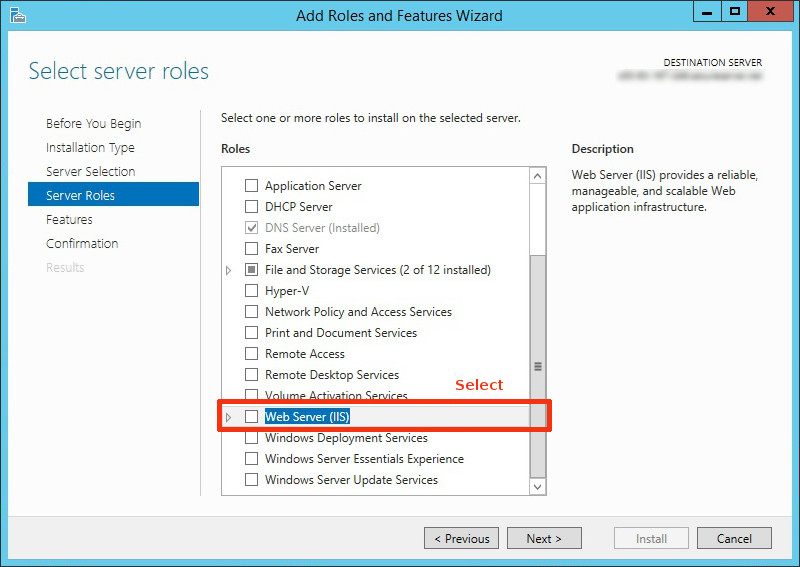
- Now you will get a prompt for Server Roles, select Web Server IIS checkbox and move Next.
- No need for additional features for IIS so click Next
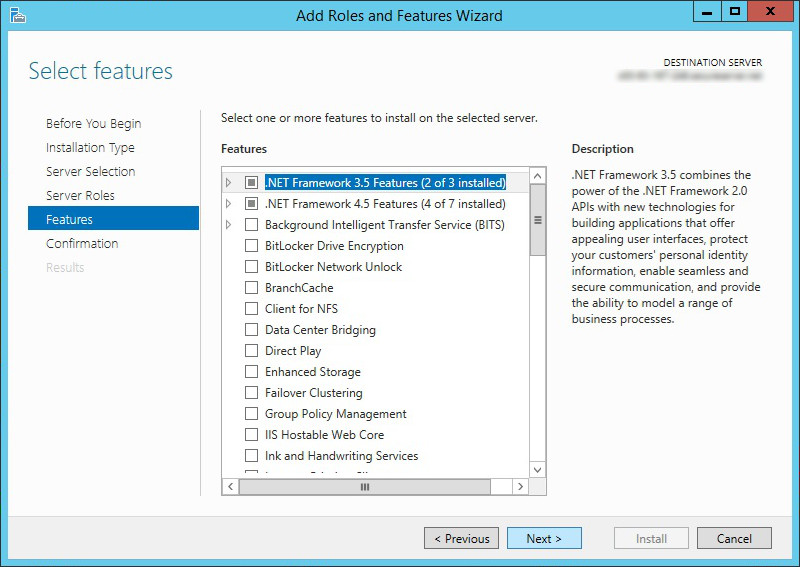
- Again click Next to customize your installation of IIS, or accept the default settings that are already available under Role Services section, and then click Next.
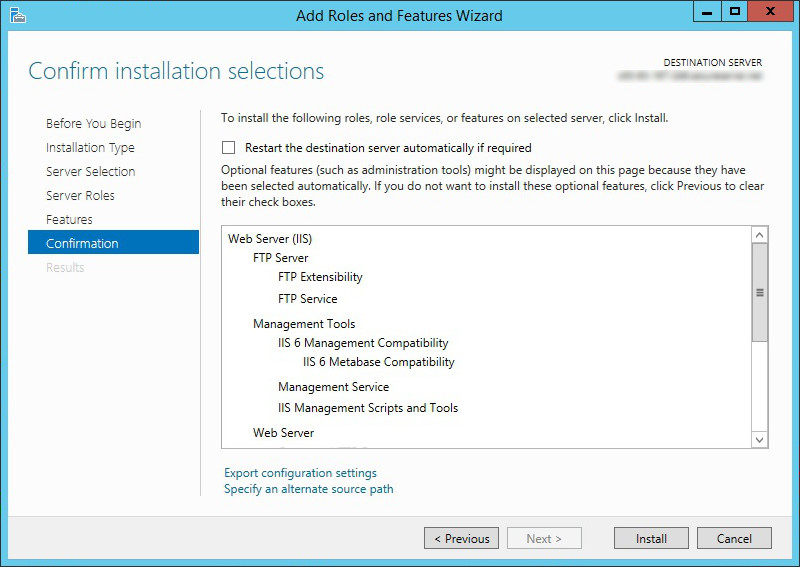
- Now the final Confirmation dialog will open, click Install.
- The wizard reflects the installation status when the IIS installation completes.
- As you have successfully installed and configured the IIS, click Close to exit the wizard.
3. Set a Domain Name to IIS
Now you are ready to set domain name manually from your windows server IIS. You can follow these steps to add a domain:
- Navigate to Control Panel → System security → Administrative Tools and open Internet Information Server (IIS) Manager.
- Click on “Local” (Your server name) and move to Sites → Add website.
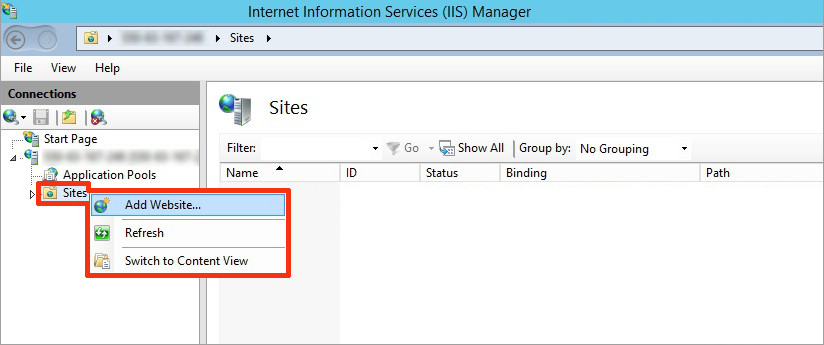
- An Add Website Dialog will open as shown below.
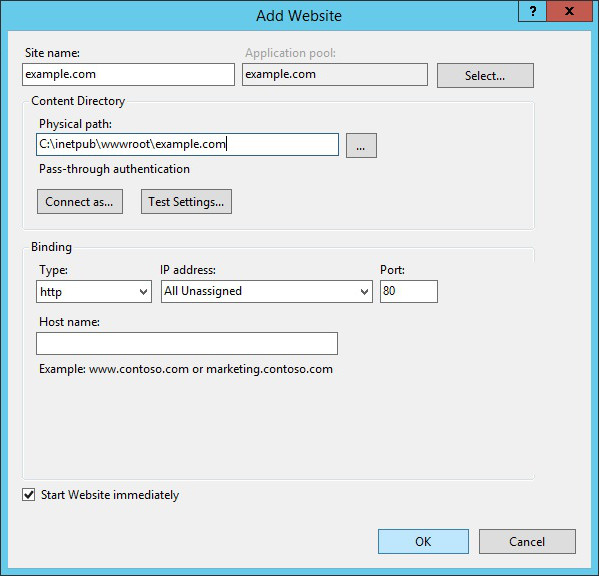
- Enter site name as domain.com here.
- Set the Physical path: by browsing the site file that usually lies in inetpub folder.
- Select the Type and IP address fields to use for this Web site, TCP Port = 80, Hostname: for this site = leave blank if this is dedicated IP otherwise enter “www.domain.com”.
- Click OK and the website will start automatically.
- Finally, It’s done!!
Hopefully, you will be able to create a website now as you can easily configure a domain to the IIS web server. So to have a great user experience, you can use this website builder software build website themes/templates handily with an extended CMS and browser support. It enables you to create a website theme -just in few minutes without any technical expertise!!
how to create a website with ip address which is not localhost . In the binding section , the IP address is unassigned, what will happen if we input a created domain in the broswer, how to locate the IP address?